Full-Suspension Bicycles
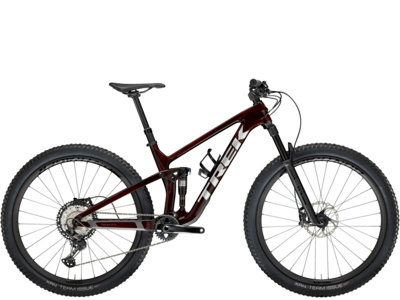
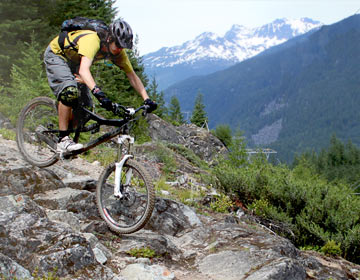 Full-suspension bicycles are some of the most popular mountain bikes available, and for good reason. We've seen dramatic advances in frame and fork technology, cutting-edge suspension designs and rear shock function, while the overall weight of full-sussers has actually dropped to rival their hardtail siblings.
Full Suspension's Benefits
In fact, the benefits of today's suspension rigs are so plentiful that even many professional cross-country racers who used to prefer hardtails, are winning on them. For example, full-suspension bikes:
Are easier to ride. Even beginning mountain bikers will be able to go places they couldn't without suspension or on a hardtail. While the latter has front suspension that smooths the ride and offers additional control, with front and rear shocks the bicycle becomes twice as easy to handle and almost any terrain is ridable.
Are more comfortable and efficient. Rocks, roots, potholes and bumps are absorbed by the rear shock, not by your body, back and butt. This means you're less tired and can ride more efficiently, and longer and faster, too. It's why even cross-country racers now often choose full suspension.
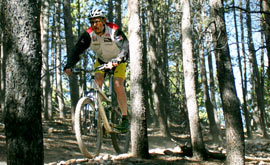 Have better traction. Because the rear end of a full-suspension bike moves over obstacles the rear wheel stays glued to the ground. So, for climbing anything rougher than a paved road, the traction is superior.
Have more control. Because your wheels move up and down, full-suspension bikes stay in contact with terra firma for excellent control and confidence. In comparison, on a hardtail the rear end bounces over rough terrain making you lose contact with the ground and reducing your control, too.
Work wonders in turns, too. The front and rear shocks work together to keep your wheels in contact with the ground so you never lose traction. Plus, the braking bumps that you commonly encounter before corners are absorbed so you enter the turn with more speed and can hold the best line.
To be completely fair, there are a few negative aspects of these bicycles, including: Generally, full-sussers are more expensive and heavier than hardtails. And, more love and attention is required with them due to additional moving parts and having another shock to maintain. Most riders, however, will tell you that these are minor drawbacks considering how much more fun they have on their full-suspension rigs. We think you'll agree!
Bike Types Alright, now you know that full suspension is fun, fast, cool and also efficient. Let's next discuss the most common types of bikes on the market, which we can generally categorize by the amount of travel the suspension system offers. Travel can range from a barely-moving, pivotless 1-inch travel to a cliff-hucking, float-over-anything 10-inch travel and everything in-between.
To simplify, full-suspension bikes are typically listed as: short, medium or long travel. Here's a description of each:
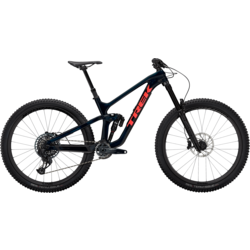
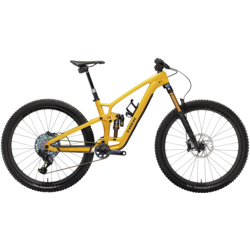
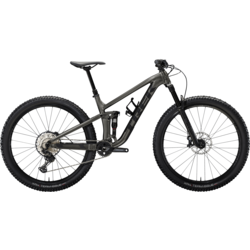
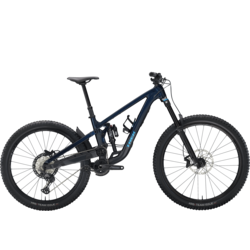
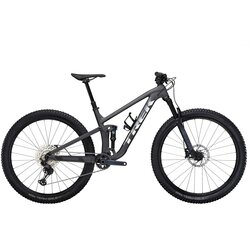
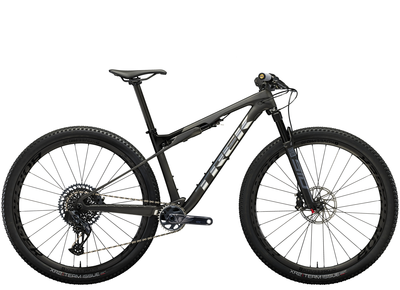
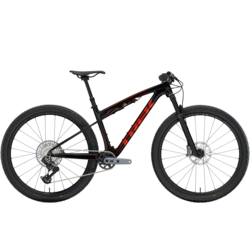
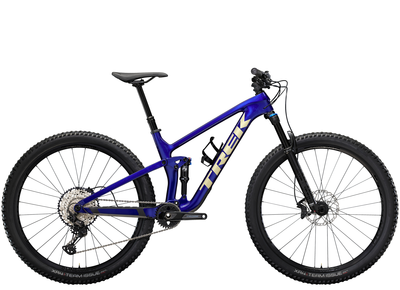
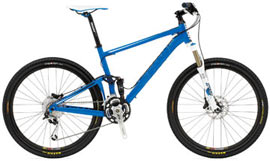 Short-travel bikes (right), commonly used for cross-country riding, are some of the most common and the most similar to hardtails. They have 1 to 4 inches of travel, quicker and tighter geometry and are the lightest fully suspended rides available, generally weighing a feathery 22 to 28 pounds. Short-travel bikes excel at climbing and often feature shocks that can be locked out for the ultimate in pedaling efficiency on the road ride to the trailhead or for maximum power on smooth terrain.
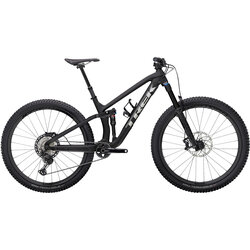
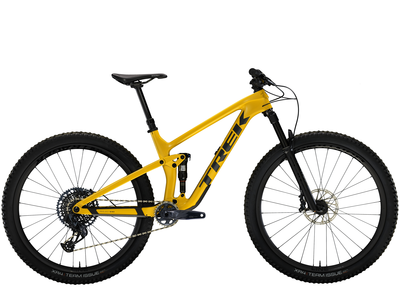
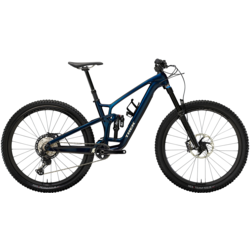
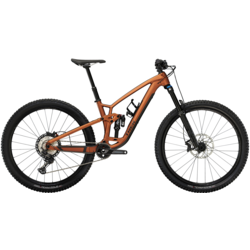
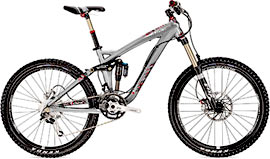 Medium-travel bikes (left), commonly used for all-mountain riding, have gained popularity due to their do-everything nature. They sport 4 to 6 inches of travel and often feature forks and rear shocks that have travel adjustments — making climbing easier. Plus, they boast more stable geometry — letting you go faster downhill. Medium-travel bikes are typically built with more durable components and wheels, with fatter tires to tackle crazier terrain. Many riders find that medium-travel bikes are the ideal balance of lightness (26 to 34 pounds), travel and strength.
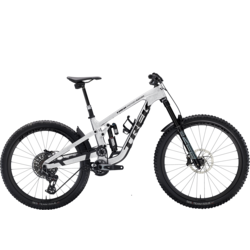
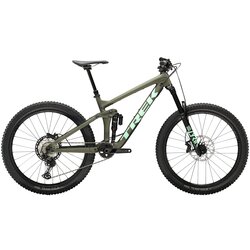
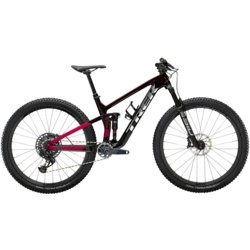
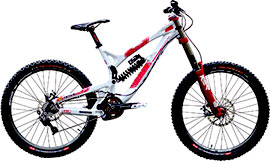 Long-travel bikes (right), commonly used for downhill or freeride riding, are the favorites of gravity riders. These burly rigs float on 7 to 10 inches of travel and their geometry is designed slack for high-speed stability. The components are extra strong, the tires are wide and have reinforced sidewalls, and hydraulic-disc brakes with huge 8-inch rotors are the norm for maximum speed control. Many long-travel bikes utilize one chainring and a chain guide to keep the chain from falling off when you're hammering the rough stuff.
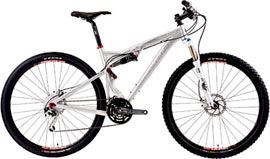
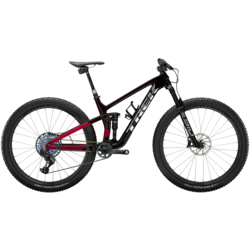
29ers (left), are another type of dual-suspension bike to consider. Although they come in a variety of travel lengths, it's actually the wheel diameter that's different. These mountain bikes boast 29-inch wheels that offer excellent benefits over standard 26-inch wheels. They roll easily over rough terrain and maintain momentum better. Also, they have a longer wheelbase that increases stability. Although taller riders tend to enjoy these bikes, more and more average-size riders and racers are capitalizing on the great feel and smooth ride.
Upgrade As You Go
You won't ride much if your bike doesn't feel right, which is why we spend time checking you to make sure you're on the perfect frame size before we start recommending bicycles. Once you’re on the right bike you can always upgrade components, especially as you start to realize your riding preferences. Two components worth considering, are handlebars and adjustable seatposts. They can greatly change the feel of your ride. 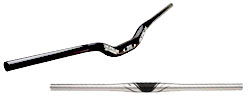 There are flat and riser bars. Flat bars sit lower (depending on the frame design and stem) and are slightly lighter. They're usually favored by cross-country and long-distance riders.
Riser bars come in different shapes, but they're all higher than flat bars, typically wider, and swept back a bit making them easier to reach. Riser bars let you sit a little more upright, and give you a wider stance from their greater width, which many riders prefer for technical terrain and for downhill riding because it provides more control. You can get a feel for which you like by sitting on different bikes in our shop with the various bars and feeling them for yourself.
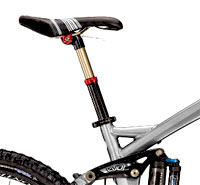
Adjustable seatposts (photo) feature a telescopic mechanism that allows dropping and raising the seat while you're riding (no need to dismount). This is an excellent feature if you're riding trails with technical descents interspersed with climbs. You can instantly lower the seat for added upper-body movement and more control, and then instantly raise it again for climbs. This feature also makes getting on and off the bike easier, especially in precarious situations.
Note that smaller frames with interrupted seat tubes benefit greatly from an adjustable seatpost because standard seatposts will only drop down as far as the seat tube allows. The adjustable seatpost gives extra clearance — a great feature!
10 Top Suspension Tuning Tips & Tricks
With a little basic care and feeding, your full-suspension bike will ride trouble free for miles and miles of fun. Here are our favorite tips (we're happy to help you with these settings and adjustments, too).
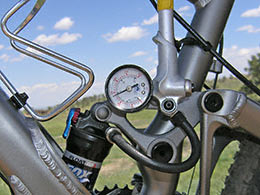 1. Adjust the air pressure or spring preload of both the front and rear shocks to the manufacturer's specifications (for a given rider weight, they give recommended settings). You can get the specs for your shocks from your owner's manual or fork/shock company's website. This adjustment will ensure your bike and suspension function as they're designed to.
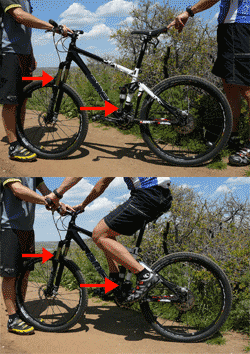
2. Set the correct amount of sag (the amount the suspension compresses when you sit on the bike). This is an often misunderstood concept as most riders run their suspension too firm. Getting this setting right ensures that your suspension is working for you all the time and never topped out. To set it, refer to your owner's manual to find the correct setting (or visit the shock maker's website).
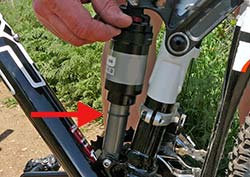
Then, have a friend (see the left image below) hold your bike for you as you sit on it with full riding gear. Generally, the bike should sag 20 to 30 percent of its total travel. The O-ring often found on shocks (below, right) can be used as a guide for telling how much your suspension sags and for dialing in the correct amount. Or, you can simply install zip ties on your fork and/or shock and measure how far they move, too.
 |
 |
3.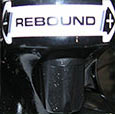 Dial in your rebound.
 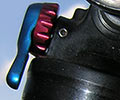 When you hit bumps you want your suspension to come back to neutral quickly enough. That's what the rebound adjustment does. Start by checking your fork or shock owner's manual to read the guidelines. You want your rebound to extend your suspension fast enough to be able to handle lots of quick bumps in a row, yet not so fast that it bounces or throws you out of control. To get it right, turn the rebound adjuster (image, right) in small increments (they usually click) to find the best setting for you and your trails. And keep in mind that you'll want to adjust your rebound as you adjust your air pressure or spring preload, too.
4. If you're riding with air shocks or forks, check your air pressure at least every 2 weeks and top it off as needed according to the manufacturer's specifications. Just like tires, air suspension loses a little air over time. If your fork or shock needs to be pumped up daily, then you should bring it in to us to have a look at it to make sure it's not leaking.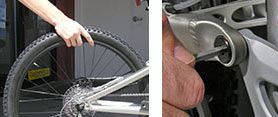
5. Another good check is to grab the top of the rear wheel (right) and wiggle it sideways to feel for side-to-side play in the rear-end suspension linkage. Does it feel loose? First, try snugging the rear wheel quick-release skewer, then make sure your rear hub bearings are adjusted correctly by removing the wheel and turning and pushing and pulling on the axle feeling for looseness (there shouldn't be any). If those things are fine, tighten the frame pivot bolts (right). If that doesn't do it, bring the bike in so we can take a look and determine what might be causing the problem.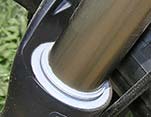 6. Be sure to wipe the stanchions and around the seals of the shock and fork (left) regularly. Check, too, for oil deposits (a sign of a possible leak) or any nicks on the stanchions. If you spot any problems or are unsure bring the bike in for us to take a look and we'll give you the low-down on what needs to be done. Clean components work better and last much, much longer so simply by keeping things clean you can avoid most problems.
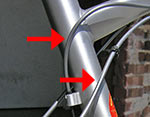
7. Inspect the areas where your cable housings touch your frame and fork. The movement of the suspension can cause them to rub and actually create a weak spot if allowed to persist. Install tape at the contact points (arrows, right) or stop by the shop and we can show you some frame guards and tricks to prevent this common problem.
8. Wear and tear is greater if you ride in the mud, muck, snow, rain, etc. For these conditions you should clean your bike after every ride and check it for girt and grime that can wear the shocks, bearings and other components prematurely. Cleaning is as simple as getting a bucket and sponge, filling the bucket with warm soapy water and having at it. Just be sure to never use high-pressure water to clean or rinse because it can blast the grease and oil right out of the bearings and moving parts and you definitely don't want that. Always rinse with the sponge or by dribbling water from above over your bicycle and components. Be sure to dry completely and relube after cleaning, too.
9. It's important to lube your fork and shock with only the manufacturer's recommended oils, because other types of lubes can eat through seals or harm the internals.
10. And maybe most importantly of all, if you're just getting into riding full suspension, take it easy on your first few rides on your new squishy bike. Trust us on this one. Even though it's more controlled and more fun, you can still crash.
We hope these tips are helpful. And, remember that we're always happy to answer any questions and show you all the super-cool features on our full-suspension bikes! Thanks!

